How to set up CenturyLink email on an Android device
Follow these step-by-step instructions to set up your CenturyLink email on an Android mobile device.
Do you need to create a new email account? Learn how to get a CenturyLink email address.
Set up email on an Android phone or tablet
NOTE: Email setup can vary by operating system. The steps on this page are general. If you have trouble, refer to the instructions for your specific operating system.
1. Go to your device settings.
2. Tap on Add another email account.
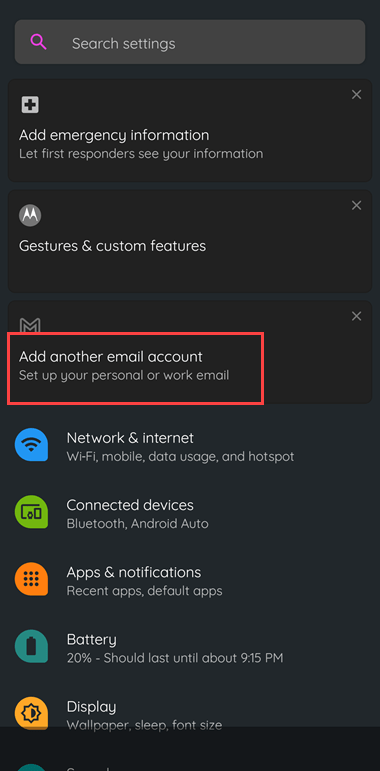
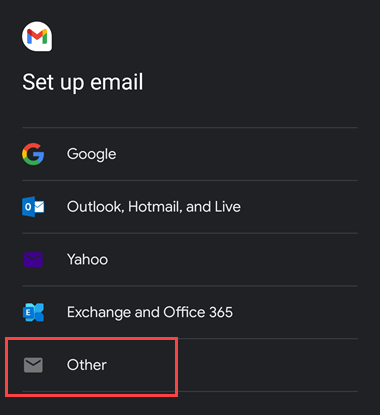
3. Tap on Other from the list for Set up email.
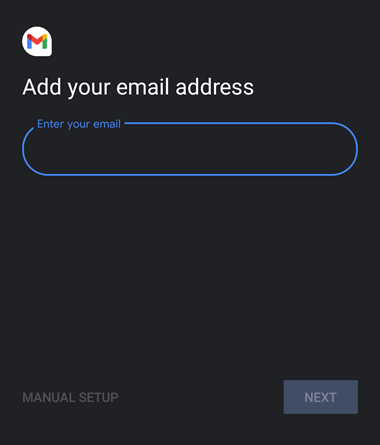
4. Enter your email address, then tap Next.
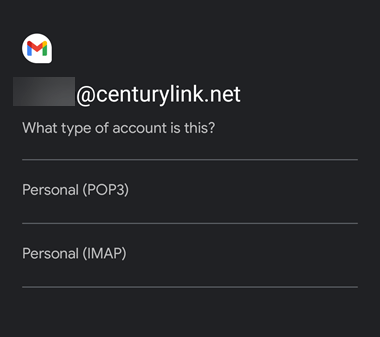
5. Select POP or IMAP, then tap Next. Not sure which account type to select? Either one will work for CenturyLink.net, and we recommend you use IMAP. Learn more about the differences between POP and IMAP.
6. Enter your email account password, then tap Next.
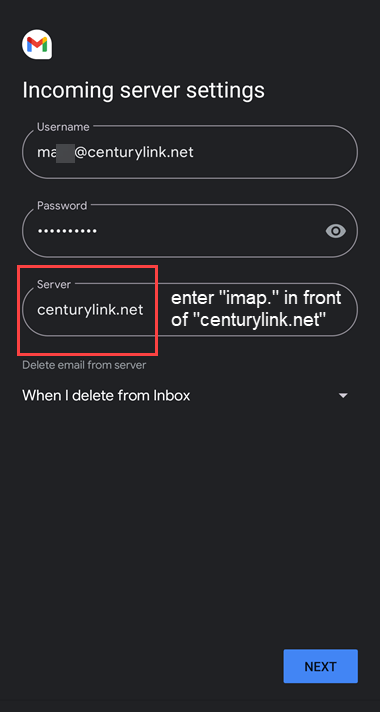
7. On the Incoming server settings screen, enter mail.centurylink.net for an IMAP account or pop.centurylink.net for a POP account, depending on which you chose on the previous screen, in the server field. Select when you want your email deleted from the server, then tap Next.
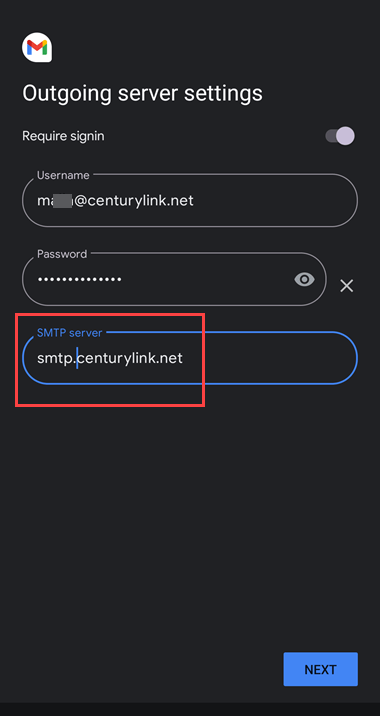
8. On the Outgoing server settings screen, enter smtp.centurylink.net in the server field, then tap Next.
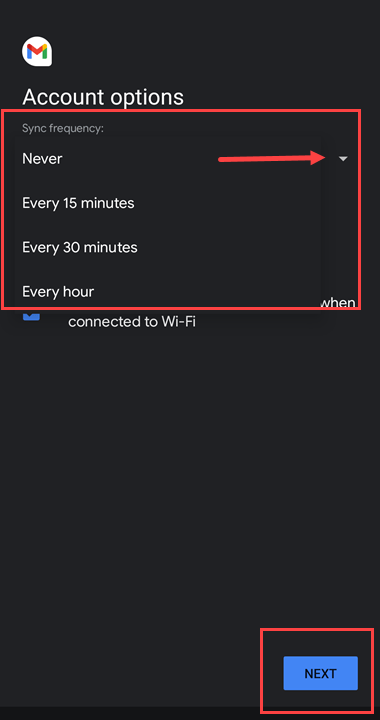
9. Choose your account options for email sync frequency, notifications, and attachment downloads.
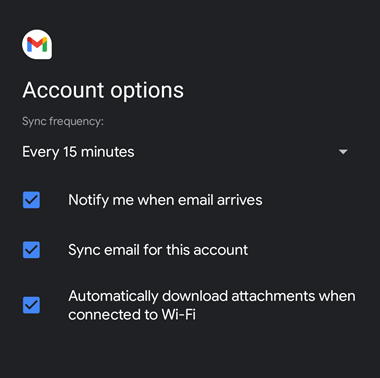
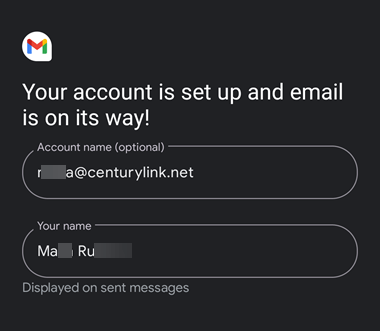
10. Your CenturyLink email is now set up on your Android device.
Keep your CenturyLink email active
Like many free web-based email services, unused CenturyLink email accounts are deactivated after a certain amount of time. To keep your CenturyLink email active, be sure to log in at least once a year. Accounts with no activity for more than a year will be deactivated and all contents deleted.
CenturyLink Email Support
Visit our dedicated email support site.
Top Tools
Was this information helpful?
Support topics


.png)


