Basic wireless setup on your modem
Your modem's wireless settings allow you to enable your WiFi and change the network name (SSID). You can also view the current security type, key/passphrase, and WPS PIN for the modem.
Note: Your modem settings may appear slightly different from the images below, but the steps will be the same.
1. Connect a device to your network over WiFi or using an Ethernet cable connected to your modem. This works best on a tablet or computer.
2. Open a web browser and type http://192.168.0.1 into the web address field.

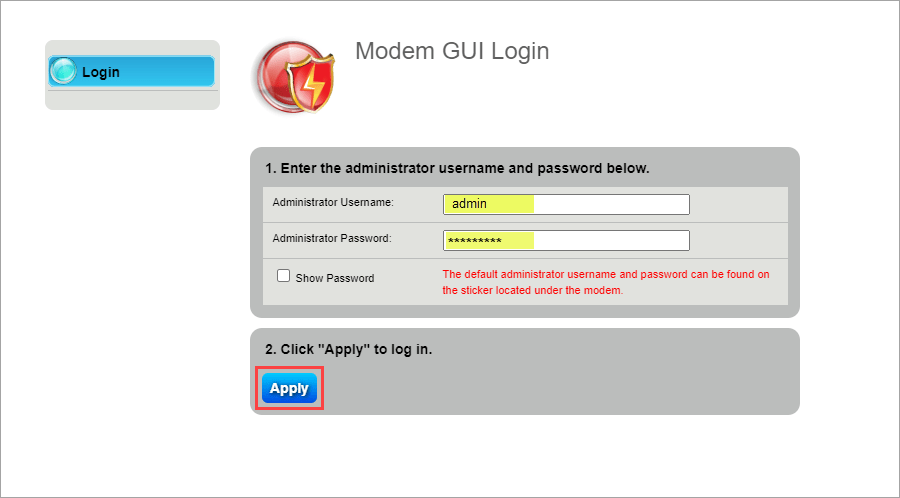
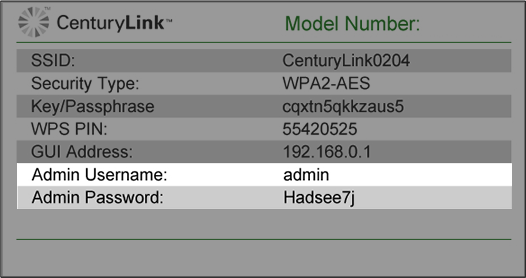
3. Sign in to the modem settings (GUI) using your Admin Username and Admin Password, printed on the sticker.
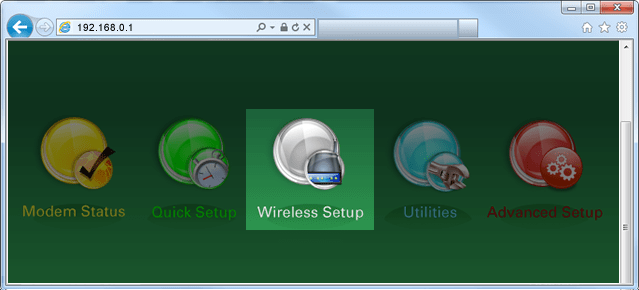
4. Select Wireless Setup in the main menu.
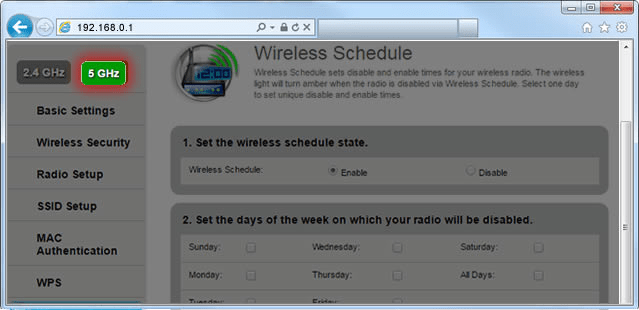
5. If given the choice, select 2.4 GHz or 5 GHz in the left sidebar. Some models do not offer this option. Read more about the how to choose between 2.4 and 5 GHz frequency, and learn which modems have this capability.
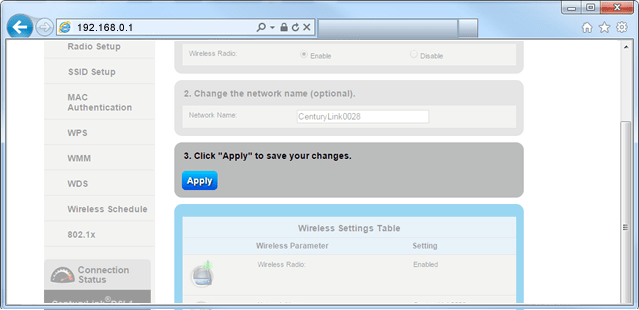
6. Select Enable for the Wireless Radio. You can also change the network name (SSID) to something more personal and easier to remember here. Finally, you can view more details about your wireless connection, including the security type, key/passphrase, and WPS PIN.
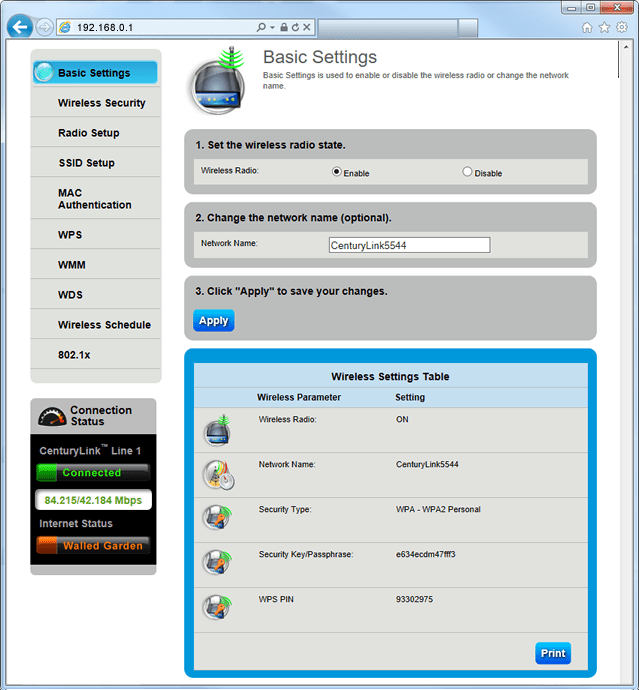
7. Select Apply to save changes.
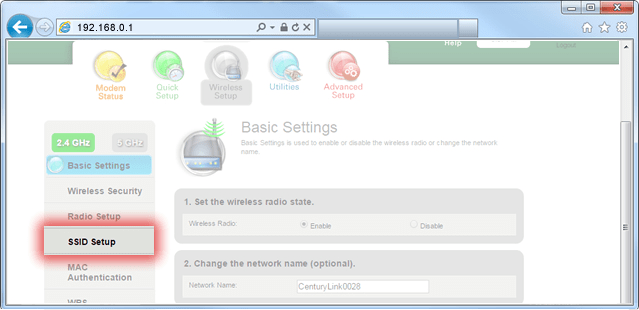
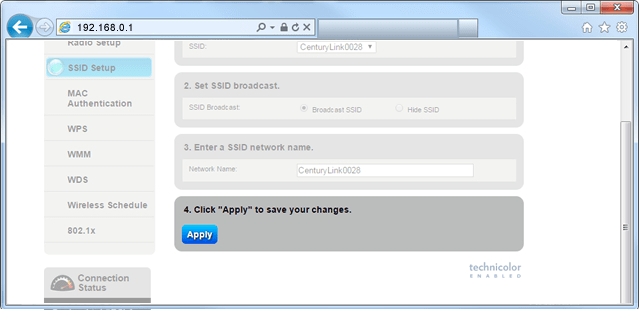
8. Next, make sure the modem is broadcasting the network. To do this, select SSID Setup.
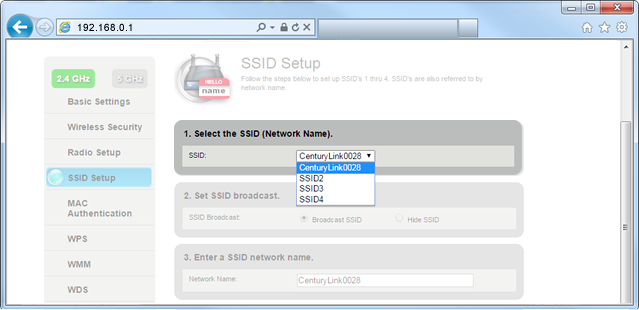
9. Select the network name (SSID), which you can find printed on the sticker on the bottom of your modem.
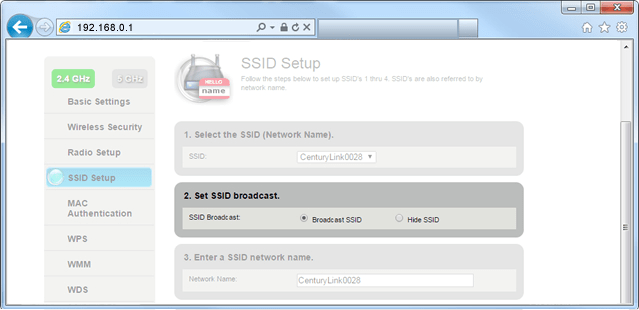
10. Select Broadcast SSID.
11. Select Apply to save your changes.
The wireless light on your modem will turn green when the WiFi network is enabled. Once it's on, you can connect devices to your wireless network. Be sure to connect devices using the same frequency you selected on your modem (2.4 GHz or 5 GHz).

Top Modem Topics
-
How to return a CenturyLink modem -
CenturyLink compatible modems -
How to reboot your modem -
Upgrade or replace your modem -
How to access the modem settings -
Enable WiFi on your modem
View all Modem/Router topics
Top Tools
Did you find the help you were looking for today?
Support topics



.png)


