Replacing a pod on your Premium WiFi network

For CenturyLink® Fiber Internet service connected with this equipment:

SmartNID plus 2 WiFi pods

If you've been notified that your pods are being upgraded, this is where you'll learn how to do it. See step-by-step instructions for how to swap out your existing pods (WiFi 5) with the new ones (WiFi 6). 


There are two main steps. Click to jump to each section.

Part A: Add the new pods

Part B: Delete the old pods

Estimated time: 15-20 minutes

WiFi 5 pods
tower-style WiFi 5 pod

WiFi 5 pods (older style)


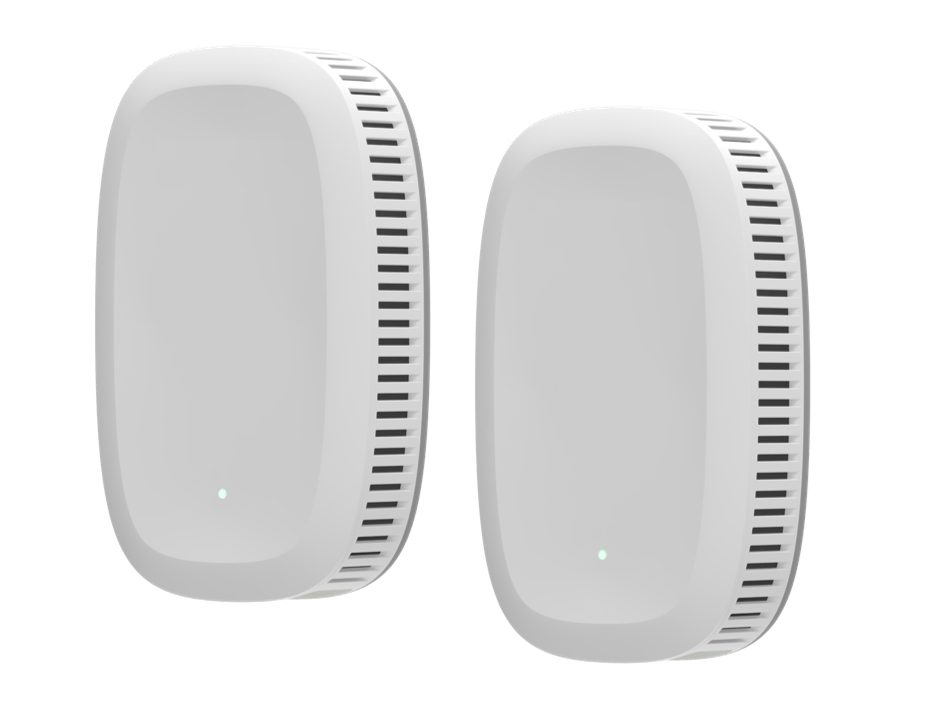
WiFi 6 pod

WiFi 6 pods (new style)

IMPORTANT: After replacing your pods, you will need to return the original pods to CenturyLink within 30 days to avoid equipment charges.

Pause: You need the HomePass app to continue

Download the HomePass by Plume app* to manage Premium WiFi.

HomePass by Plume app logo

The HomePass by Plume app is separate from the My CenturyLink app.

Part A: Add the new pods

Start by connecting the new pods to your Premium WiFi network.

STEP 1: Open your HomePass app and sign in.
 

STEP 2: Choose one of the new pods to be your wired 'Gateway' pod (primary pod).

  • Plug the new Ethernet cord into a port on the bottom of the pod (Q9500WK). 
  • Plug the other end of the cord into a WAN/LAN port on the bottom of the SmartNID
  • Now plug the pod into a working power outlet. 
Setup diagram, smartNID plugged into first WiFi pod

Note: As you add your new pods, you will temporarily have two 'Gateway' pods connected to your modem with two different Ethernet cables. You may need an extension cord for a short time to plug everything in.

bottom view of Premium WiFi pod with ports

Bottom view of new Premium WiFi pod

bottom view of SmartNID with ports

Bottom view of C5500XK SmartNID

STEP 3:  Plug in the additional new WiFi pods as close as possible to your current WiFi pods. 

STEP 4:  Once your new pods are plugged in, open the HomePass app and tap the three bars icon in the bottom right corner to open the Menu & Settings screen. Scroll to the Pods section. Tap Add and follow the instructions on the next screen. 

HomePass app "Guard" screen
HomePass menu and settings screen showing add a pod

The app will walk you through the steps, which will vary depending on your setup details. If needed, you will be prompted to turn on location and Bluetooth to pair the new pods to your network.

STEP 5: On the Add more WiFi screen, you'll see a 'Waiting and listening' message while the app looks for the new pods. One will appear as 'Gateway pod' and the others as 'SuperPod.' Once you see all of the newly added pods appear on the screen, tap All done.

HomePass app add pod, waiting and listening
HomePass app screenshot, done adding pods

STEP 6:  The system will now configure the new pods and make any updates needed. This can take about 5 minutes for each pod. You can watch the progress by selecting View network on the home screen and watching the pods appear on the network map. 

HomePass app screenshot, network map screen
HomePass app screenshot, done adding pods

If you are prompted by the app to name the new pods, you can do it now, or come back and do it later.

Part B: Delete the old pods

After you've added the new pods, it’s time to remove the old pods from your network.


STEP 7:  Remove the original gateway pod from the outlet and disconnect it from the modem. If you want, you can now move the new gateway pod to the location of the old one. 

STEP 8: In the app, select Network and check to make sure the network comes back online. The new primary pod will appear as a green globe and will be called 'Gateway' (unless you renamed it). The old gateway pod will now appear as red and offline.

Active and offline gateway on network map

STEP 9:  Return to the Menu & Settings screen. Scroll to the Pods section and tap on the pod you want to remove.

HomePass app screenshot, select pod

STEP 10:  On the pod screen, open the options by tapping the three dots in the upper corner. Tap Delete pod in the pop-up menu, then follow the prompts to confirm.

HomePass app screenshot, pod menu
HomePass app screenshot, delete pod

TIP:  You will temporarily have both sets of pods on your network (the old ones and the new ones) at the same time. If you're not sure which pods to delete, open the pod menu in the app, tap View hardware info and check the Serial Number against the number printed on each pod.

HomePass app screenshot, pod menu, view hardware info
HomePass app screenshot, pod details, serial number

STEP 11:  Select the device symbol on the home screen and check the device list to make sure all your devices are connected to your network. You can also go back to the Network screen to see a map of your pods and devices. 

HomePass app screenshot, device list

You did it! Enjoy as Premium WiFi continues to optimize your coverage based on device usage and speeds.

Did you find the help you were looking for today?