We no longer support this browser. For an optimal experience, we recommend updating your browser.
Premium WiFi for CenturyLink® Fiber Internet
Premium WiFi is a smart system that optimizes your WiFi connection based on how you use devices throughout your home or business. This provides a stronger WiFi signal for your whole network, and fewer dead spots. Learn more.
What is Premium WiFi?
This smart WiFi system extends coverage with an adaptive wireless network that sends data to your devices using the most efficient WiFi connection available. So, as you move through your space, your device seamlessly finds the closest WiFi pod and connects to the strongest signal.
How does Premium WiFi work?
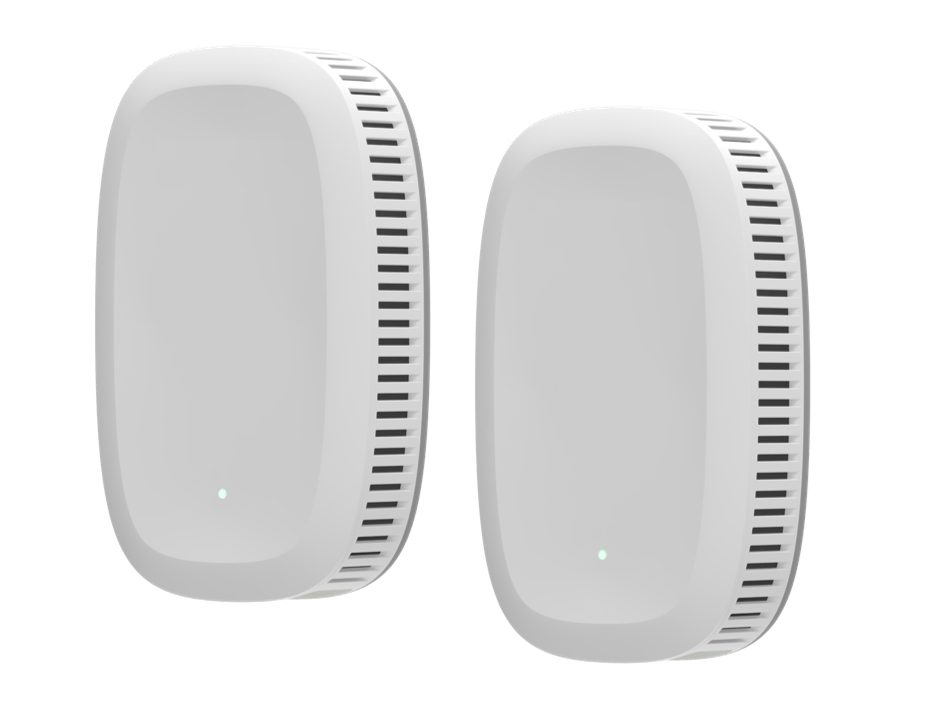
It all starts with your wall-mounted Smart Network Interface Device (SmartNID) and one or more WiFi pods that extend coverage. This equipment works together to create a single, seamless wireless network.
During setup, one WiFi pod is connected directly to the SmartNID, and an additional pod can be placed elsewhere in your space to extend the WiFi signal. The cloud-based A.I. learns and adapts to how you use your connected devices, then optimizes the connection to each device based on that information.
Your service can be managed in the CenturyLink app. You can set parental controls, schedule access time, and more.
Use the CenturyLink app to manage your account and network.


Was this information helpful?
Support topics
About Lumen | About CenturyLink | Careers | Investor Relations | Newsroom | Legal | Privacy Notice | Tariffs | Customers with Disabilities | Site Map | Cookie Settings | CenturyLink in Your Area | CenturyLink.net | White/Yellow Pages | Centurylink Retailer
Residential | Small Business | Enterprise | ©2026 CenturyLink. All Rights Reserved.