Dynamic Host Configuration Protocol (DHCP) settings allow you to set the parameters for how your modem assigns IP addresses to devices on your network.
Proceed with caution! CenturyLink recommends that you keep the default settings for the LAN IP address. Changes to this feature will reset other settings on your modem as well. Proceed only if you understand the technical impacts of this feature.
If you need to restore the default CenturyLink IP addressing values, they are:
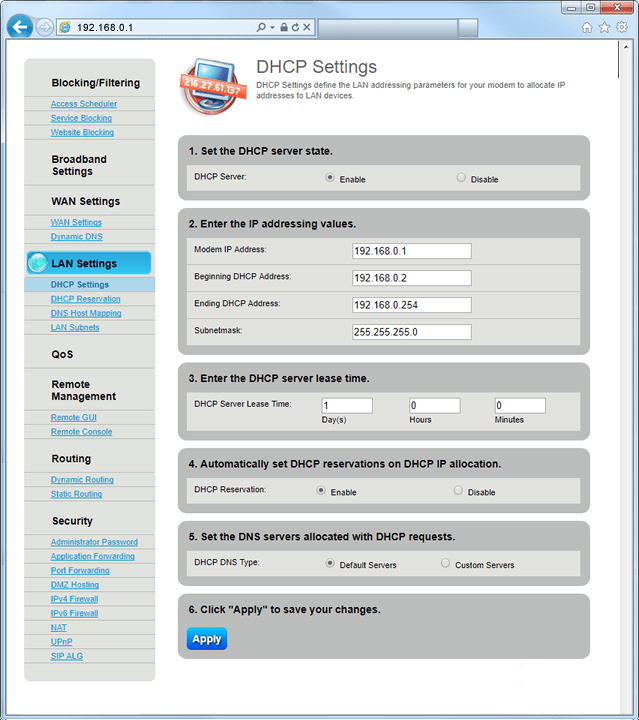
DHCP Server: Enable
Modem IP Address: 192.168.0.1
Beginning DHCP Server Address: 192.168.0.2
Ending DHCP Server Address: 192.168.0.254
Subnet mask: 255.255.255.0
Note: Your modem settings may appear slightly different from the images below, but the steps will be the same.
1. Connect a device to your network over WiFi or using an Ethernet cable connected to your modem. This works best on a tablet or computer.
2. Open a web browser and type http://192.168.0.1 into the web address field.
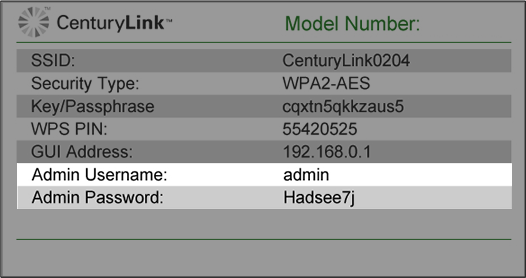
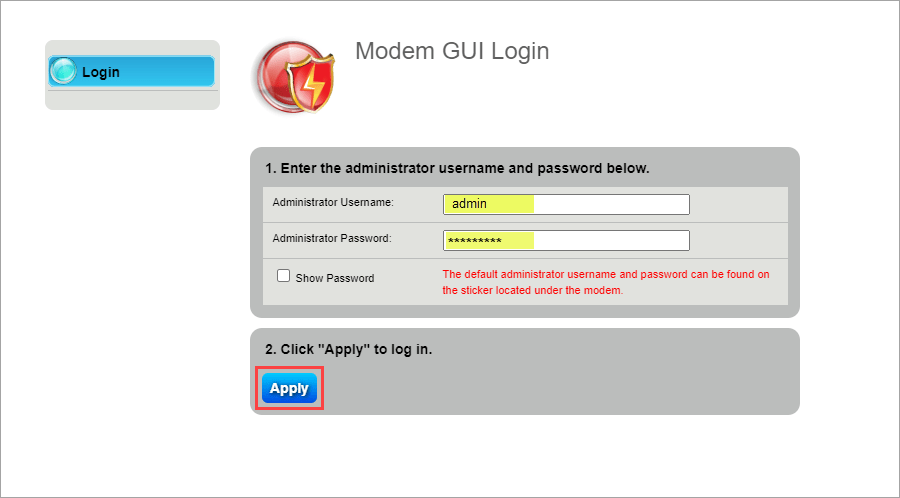
3. Sign in to the modem settings (GUI) using your Admin Username and Admin Password, printed on the sticker.
You can find the Admin Username and Password printed on the sticker attached to the side, back or bottom of the modem.
CAUTION!Do not remove your modem sticker. It includes your default Admin Username and Admin Password, which cannot be retrieved if lost. Your modem could become unusable without them.
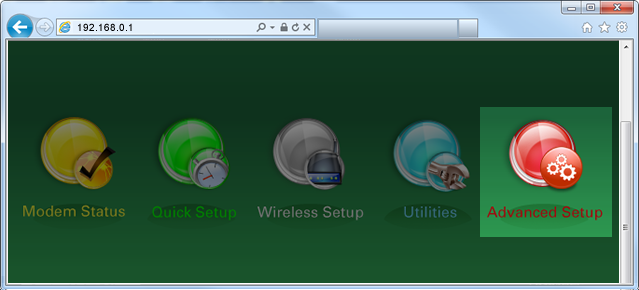
4. Select Advanced Setup in the main menu.
5. Select DHCP Settings in the left sidebar. This menu option may appear in the LAN Settings section or in the IP Addressing section, depending on your model.
6. Follow the steps to edit the DHCP settings.
Step 1: Enable/Disable the DHCP server.
Step 2: Enter the IP addressing values to be allocated.