We no longer support this browser. For an optimal experience, we recommend updating your browser.
How to enroll in AutoPay
AutoPay is the most convenient way to ensure your bill is paid on time, every time. There are three easy ways to set it up — on the My CenturyLink website, in the app, or by mailing a paper form.
Enroll in AutoPay on the My CenturyLink website
It's easy to enroll online because your information is already stored in My CenturyLink, so there's no need for you to find and enter your account number.
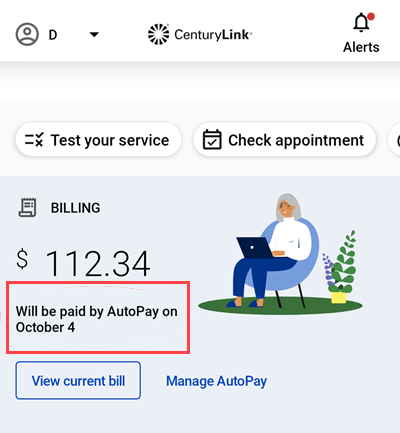
When you sign in to My CenturyLink, your home screen will show your current balance and a button to make a payment, as shown below.
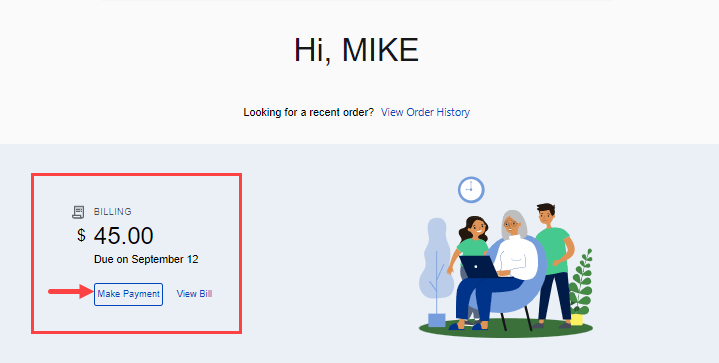
1. Click on Billing from the top menu.
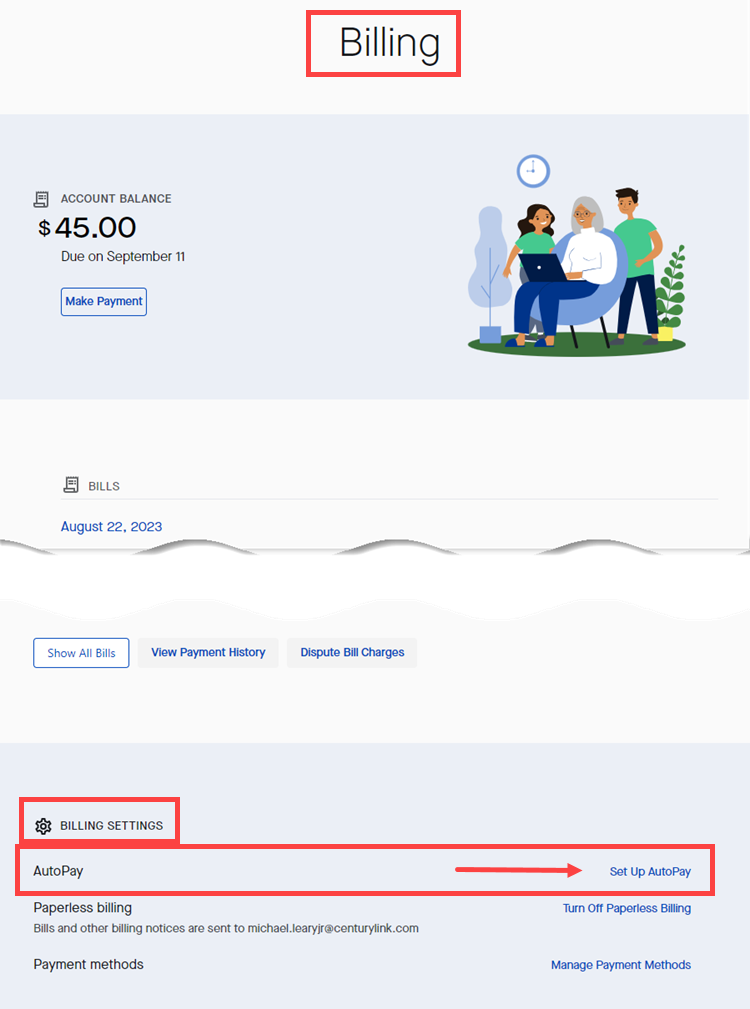
2. Scroll to the bottom of the Billing page until you get to Billing Settings. There you'll see a link to set up AutoPay.
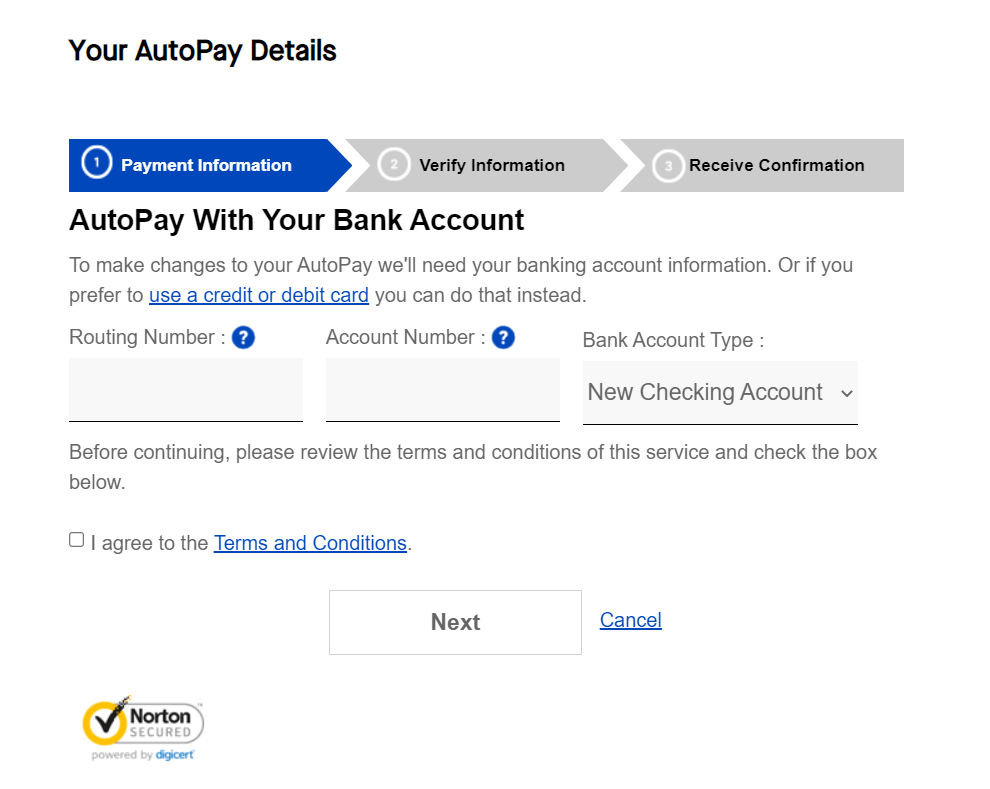
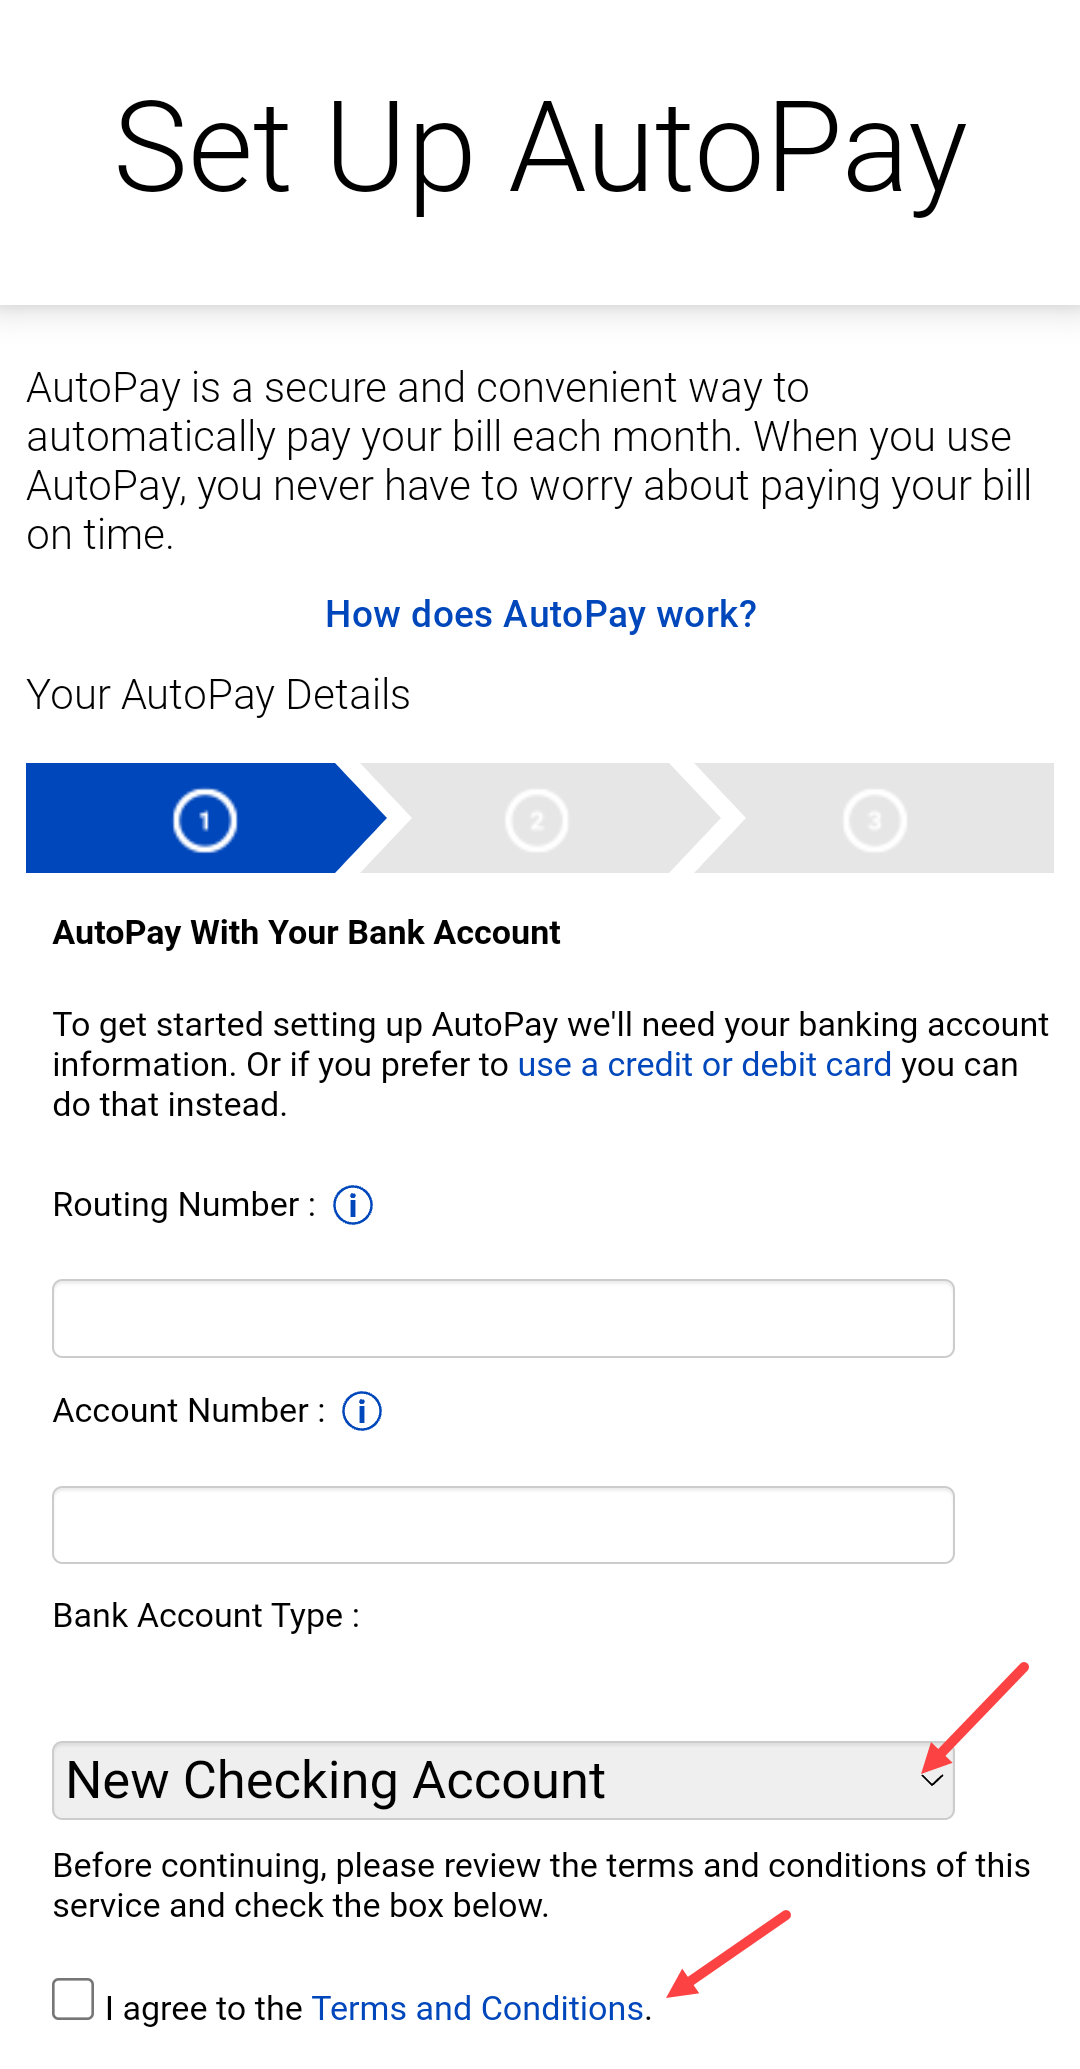
3. Enter your payment details on the AutoPay Details screen. This screen opens to the banking account option. You can select a credit or debit card if you prefer. There is a $3 processing fee for payments by credit/debit card.
Be sure to click the box to agree to the terms and conditions, then click Next to complete the set-up.
Sign up for AutoPay in the app
Signing up in the app is quick and easy, because your account information is stored.
There are two ways to get to the AutoPay setup screen:
1. A button at the top of your home screen to Set up AutoPay.
or
2. Go to Billing from the main menu, then click the "Edit" button on the AutoPay line, under Billing Settings.
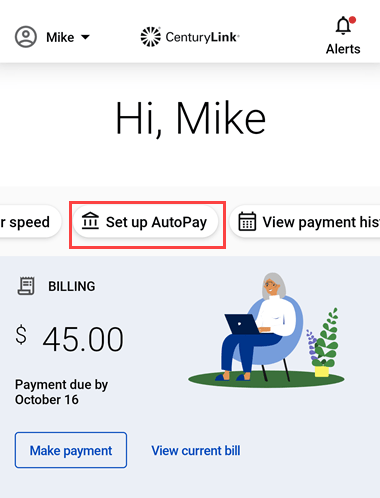
Option 1: Quick access button on home screen

Option 2: Billing Settings
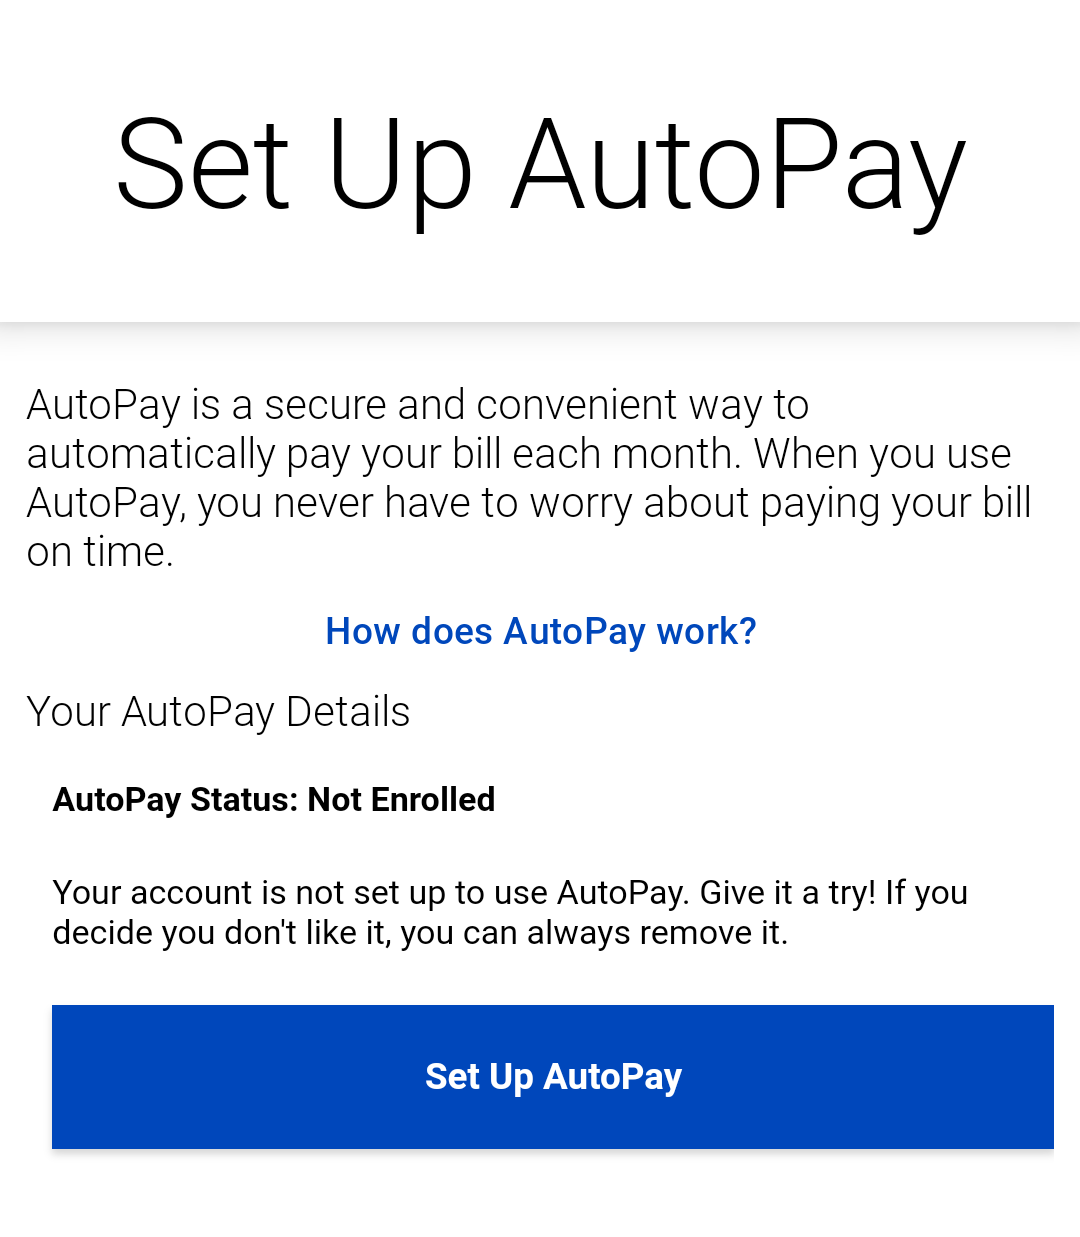
Whichever way you got here, on the Set Up AutoPay screen, click the button to proceed.
The default payment method is a bank account. If you'd rather use a credit or debit card, just click the Bank Account Type dropdown and select that option. Enter your payment account information, click the box to agree to the Terms and Conditions, and tap "Save."
There are two options to enroll in AutoPay using a paper form:
- Download the AutoPay enrollment form. Print the PDF form below, fill in the blanks, and mail it to us. (You'll need to provide your CenturyLink account number.)
- Complete the form on the back of your bill remittance slip. On the back of the page 1 of your CenturyLink bill, you'll find an AutoPay Authorization section. Fill in the requested information and mail it in along with your payment.
Payment methods accepted for AutoPay
You can use these forms of payment with AutoPay:
- Checking account
- Savings account
- Credit card (VISA, MasterCard or Discover)
- Debit card
- Money market account (in some areas)
You can enter one payment option today and update it at any time in the future.
There are no fees when you set up AutoPay with a bank account. There is a processing charge for payments by credit or debit card.
When will AutoPay take effect?
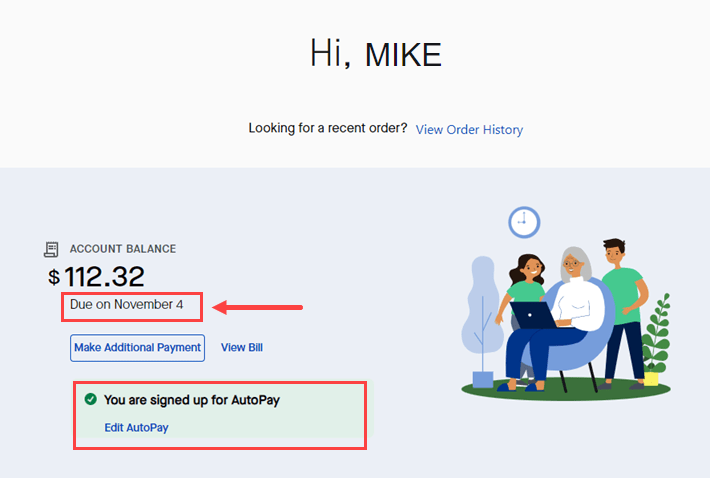
AutoPay will take effect on the next billing cycle after you enroll. You should continue to pay your bill as before until you receive confirmation that AutoPay is active. You will know it is active when you see "You are signed up for AutoPay" in My CenturyLink or on the app, or you see "Thank you for using our automatic payment system" on your bill.
What is your payment date with AutoPay?
Your AutoPay payment will occur 18 days after your bill date. At this time, there is no option to change your payment date. The "bill date" is the date your bill is issued, not the due date. You can find this bill date on the first page of your bill.
Pay and manage your account
Use the CenturyLink app to manage your account and network.


Was this information helpful?
Support topics
About Lumen | About CenturyLink | Careers | Investor Relations | Newsroom | Legal | Privacy Notice | Tariffs | Customers with Disabilities | Site Map | Cookie Settings | CenturyLink in Your Area | CenturyLink.net | White/Yellow Pages | Centurylink Retailer
Residential | Small Business | Enterprise | ©2026 CenturyLink. All Rights Reserved.