We no longer support this browser. For an optimal experience, we recommend updating your browser.
Set up your modem using QuickConnect
Before following the steps below, please follow the main setup instructions, including modem placement and whether filters are needed. Before proceeding here, connect your computer to the modem with an Ethernet cable, and make sure the modem is plugged in and connected to the wall jack.
After plugging in the modem, wait 15 minutes for it to install software updates. Then, open any browser on your computer and go to http://connect.centurylink.com (not "https").
All modems welcome here!
The QuickConnect steps below will look and work the same, no matter which model of modem you have.
QuickConnect instructions
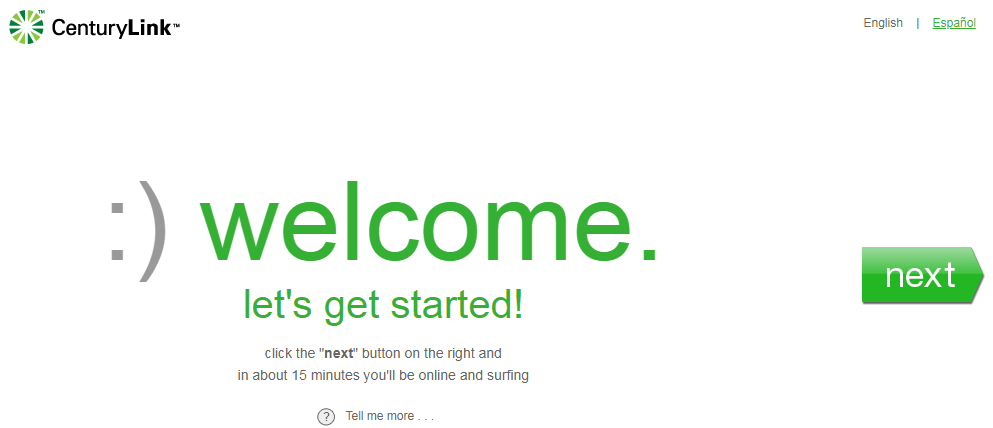
1. When you go to http://connect.centurylink.com, you will see a welcome screen like this. You can choose the English or Espanol version at the top. Then click "Next" to start the setup process. Note: Be sure to use "http" and NOT "https" when you enter the URL.
2. In most cases, your identity will be verified automatically. If the system can't do this, you will be asked for additional information.
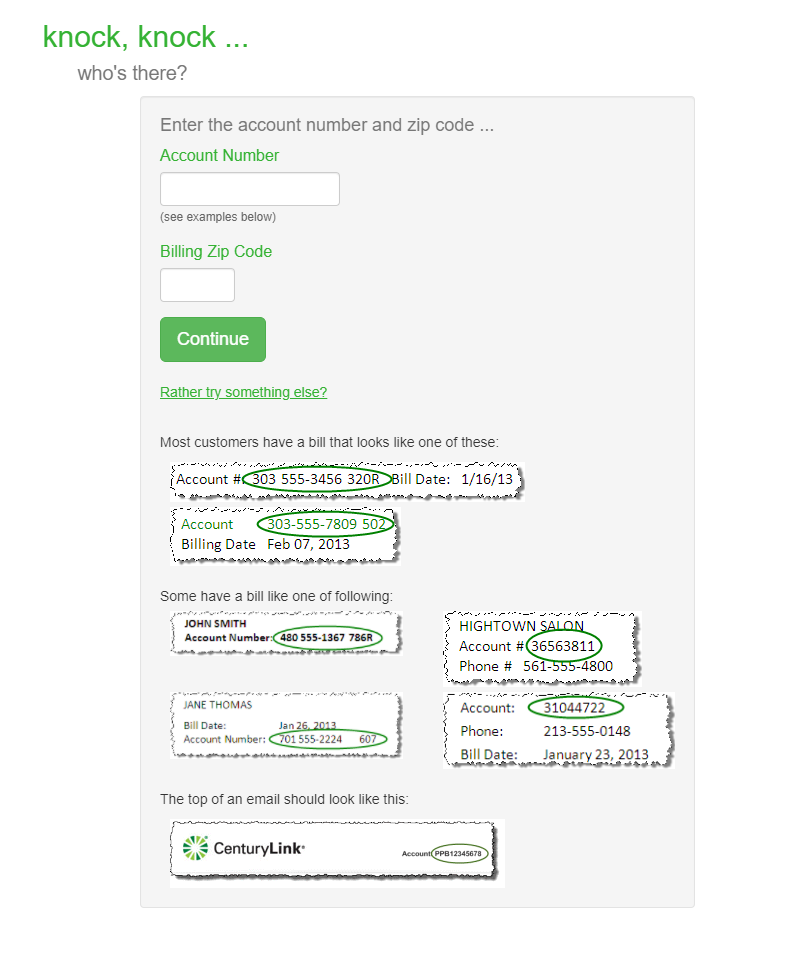
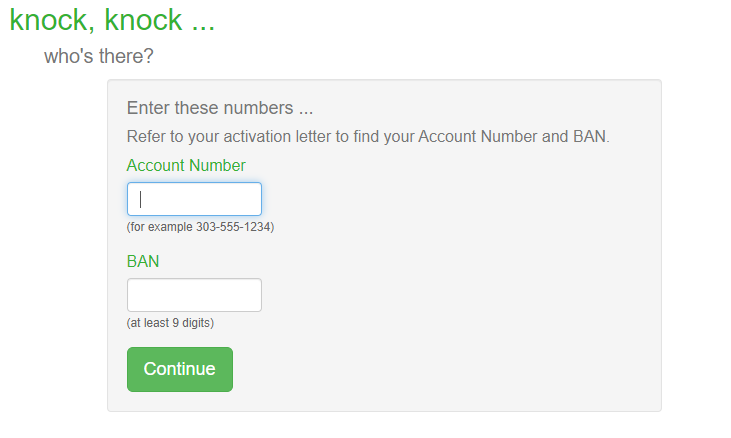
If the automatic verification isn't successful, you will be prompted to enter the account number shown on your bill or order confirmation email from CenturyLink. Enter that number and your billing zip code, then click "Continue."
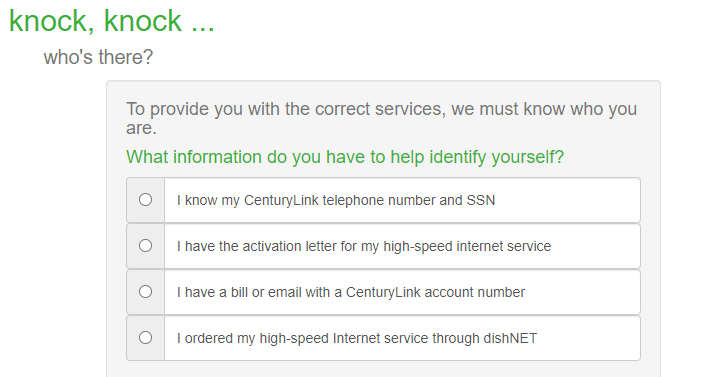
If you’d like to confirm your identify in another way, select "Rather try something else?" Choose from the list of options, then enter that information on the next screen and click "Continue."
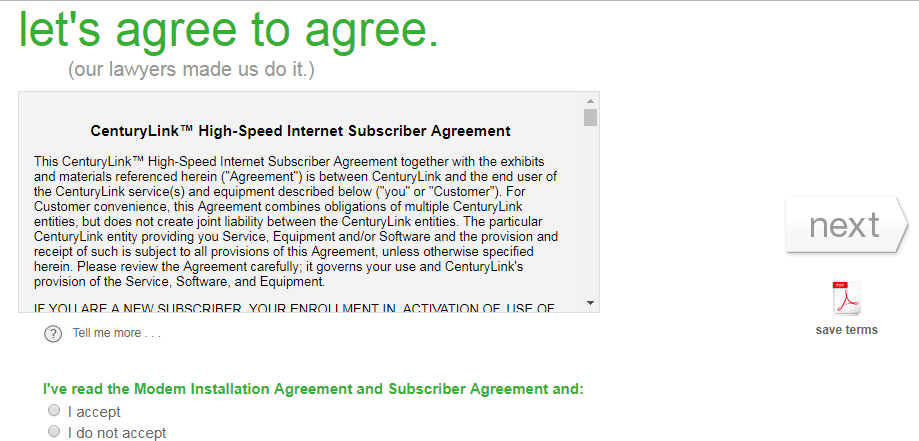
3. Read the High-Speed Internet Subscriber Agreement, then click I accept. You can also download a PDF of this agreement to save a copy for your records before clicking Next.
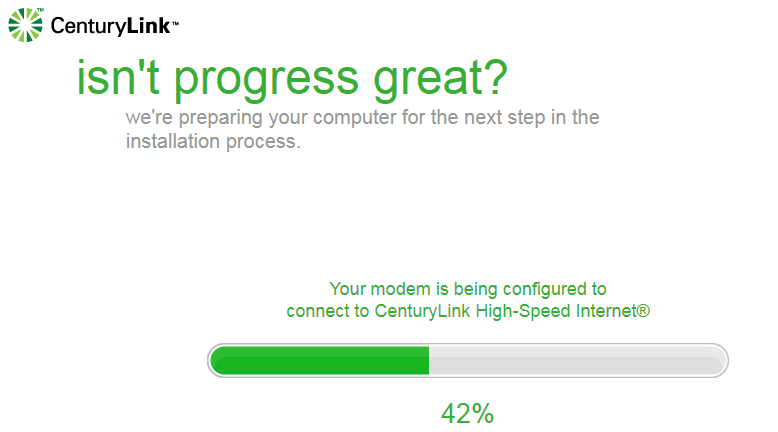
4. Wait as the modem is configured to connect to the CenturyLink network. Do not close your browser window while this is in progress.
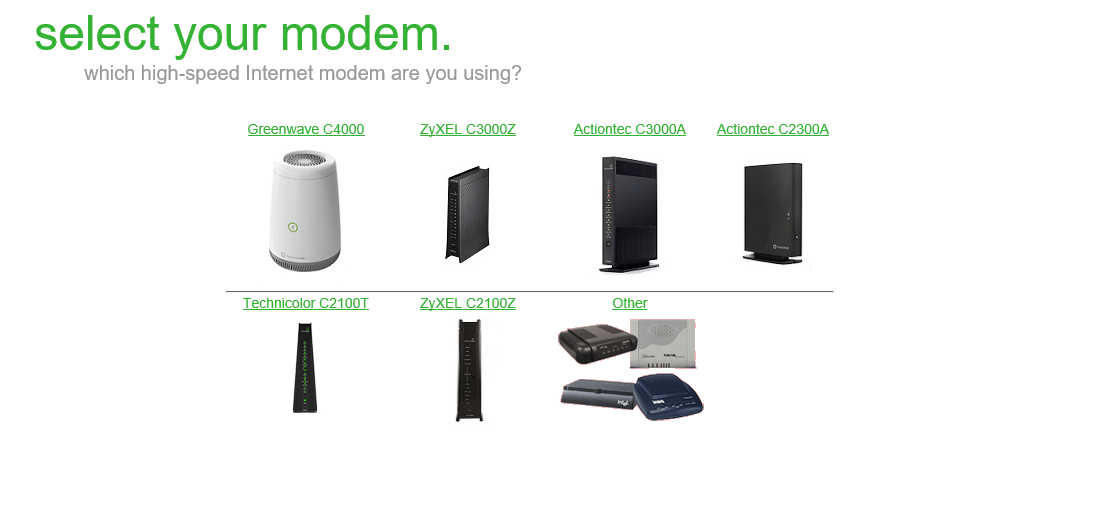
If the system is unable to configure your modem automatically, you will be guided to do this manually through the modem's online settings portal. You will see this screen, asking which modem you have. Choose the correct option and click "Next."
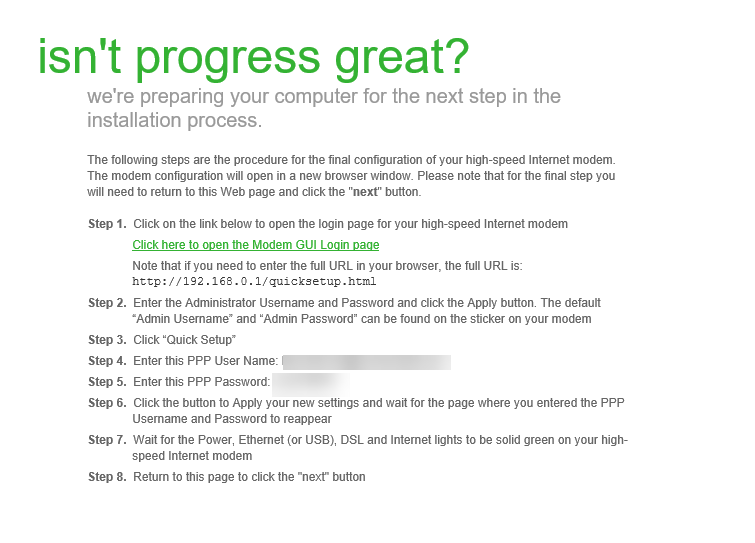
The next screen will give you the link and information you need to go into the modem's online settings portal and run Quick Setup:
- Keeping your QuickConnect window open, go ahead and open a new browser window or tab. Type "http://192.168.0.1/quicksetup.html" into the address bar, then hit enter.
- Log in using the Administrator Username and Password printed on the sticker label on the bottom or side of your modem.
- Click on "Quick Setup" then enter the PPP username and password shown to you on the QuickConnect screen, as seen in the sample below. Click "Apply."
- Wait for setup to complete and for the Ethernet, DSL and Internet lights to turn green on your modem (or the single light ring to turn green, if you have a C4000 model).
- Go back to the QuickConnect tab in your browser and click "Next."
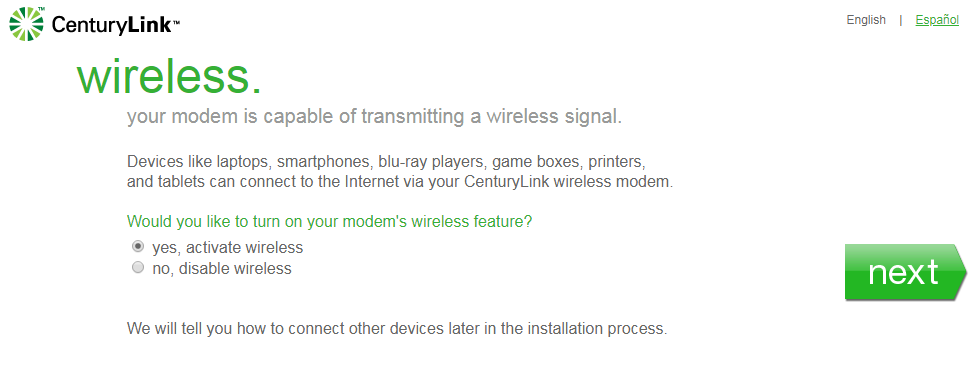
5. You will be given the option to turn on the modem's wireless router, so that you can connect multiple devices to your own WiFi network. Most customers will want to do this. Select Yes, activate wireless, then click Next.
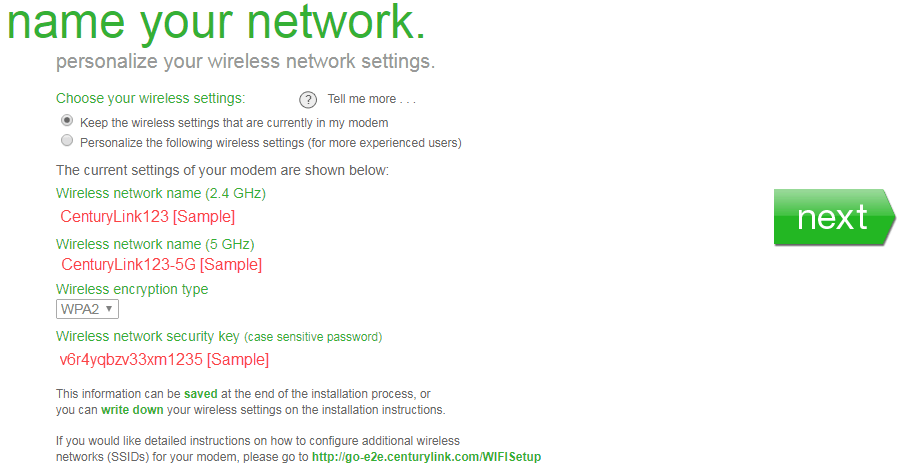
6. You will be shown the default wireless settings for your modem/router. They will look similar to the sample shown below. You can choose to keep the default network name (SSID) and password (security key), or to personalize them. For security, we recommend changing these to something that will be easy for you to remember, but impossible for others to guess.
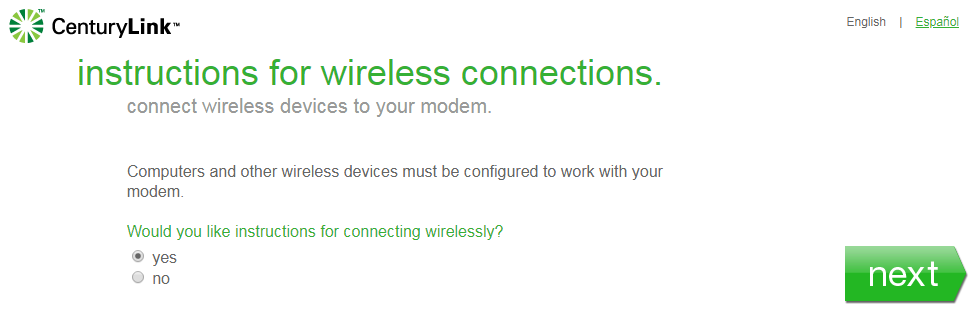
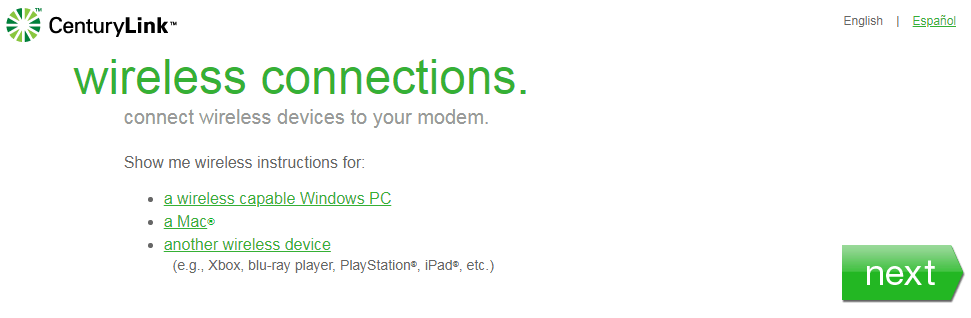
7. You can decide if you'd like detailed instructions on connecting your devices to your modem through WiFi. Click Yes or No, then click Next. If you chose yes, then on the next screen select which kind of device(s) you want to connect. When you are finished with this step, click Next.
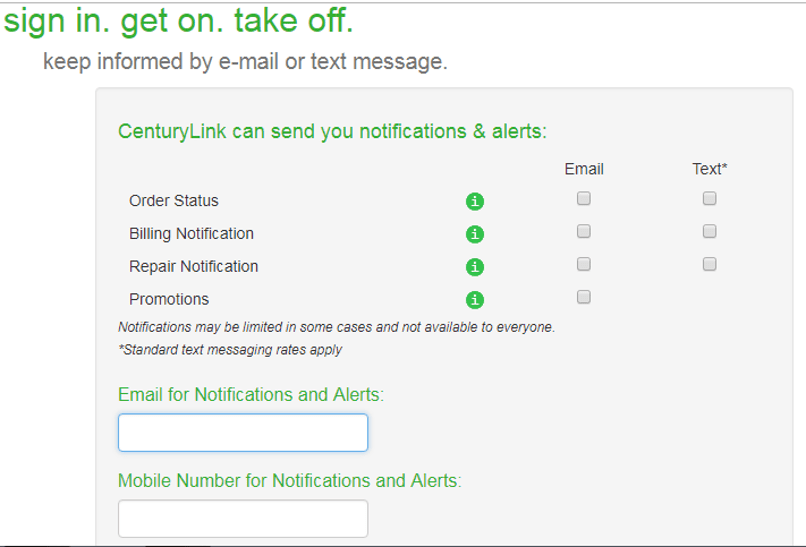
8. Next, you can choose which kinds of notifications you wish to receive from CenturyLink by email and/or by text. You can opt in or opt out of alerts regarding order status, billing, repair and promotions.
You can then enter the email address and/or mobile phone number you'd like these communications to be sent to. For your convenience, these can be different from the contact information associated with your account.
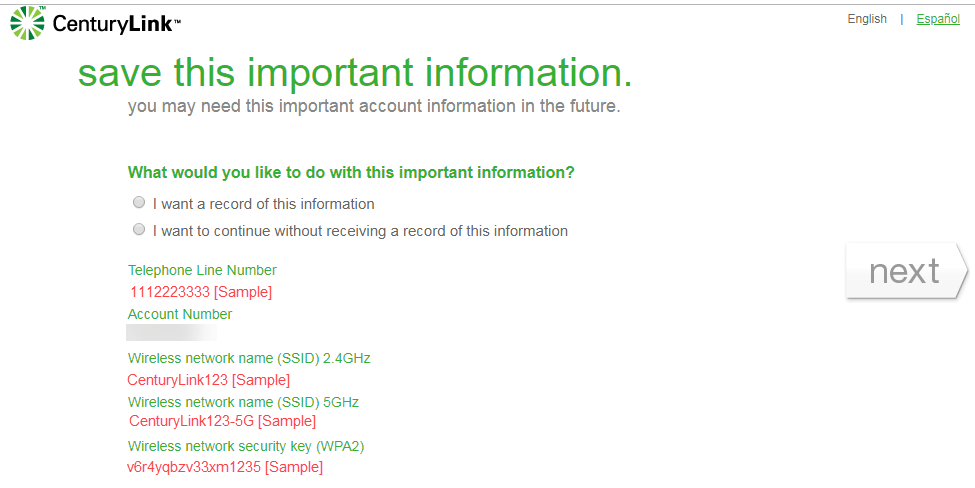
9. On this next screen, we strongly recommend you save a record of your key account information. Once you're finished, click Next.
10. The basic installation is now complete and you can get online! At this point, you can check your modem's status lights to confirm that the installation is complete (see section below).
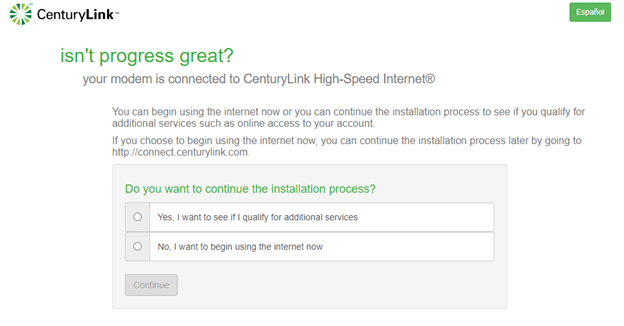
You can exit the installation process now, or continue to additional services. This will not impact your internet service. Choose Yes or No, then click Continue.
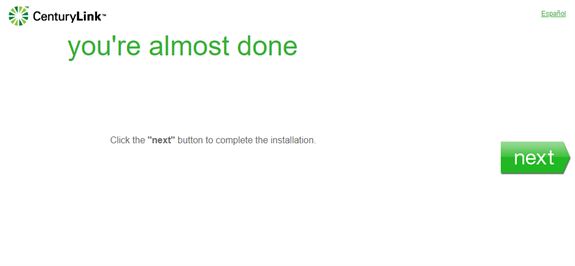
If no additional services are available for your account, you will see this screen. Click Next to complete the installation process.
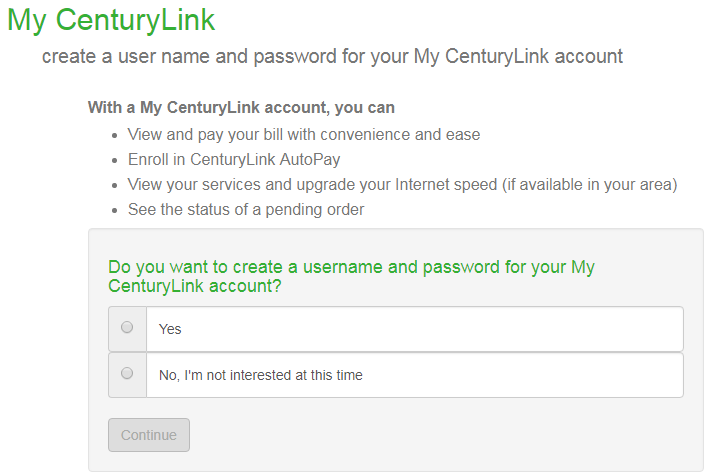
11. Finally, you will be invited to go to My CenturyLink online create a username and password for your My CenturyLink account. This sign-in will allow you to manage your account online in the future through either the app or website. Choose Yes (strongly recommended) or No, then click Continue.
If you chose Yes, you'll be shown the registration URL and reminded of your account number and billing zip code. You will need both of these to create your account. You can now click Done to complete the QuickConnect installation process.
Check the status lights to confirm your connection
While completing the installation process, the lights on the front and/or back of your modem will tell you its connection status. Click below to view a guide to the status lights based on your type of modem.
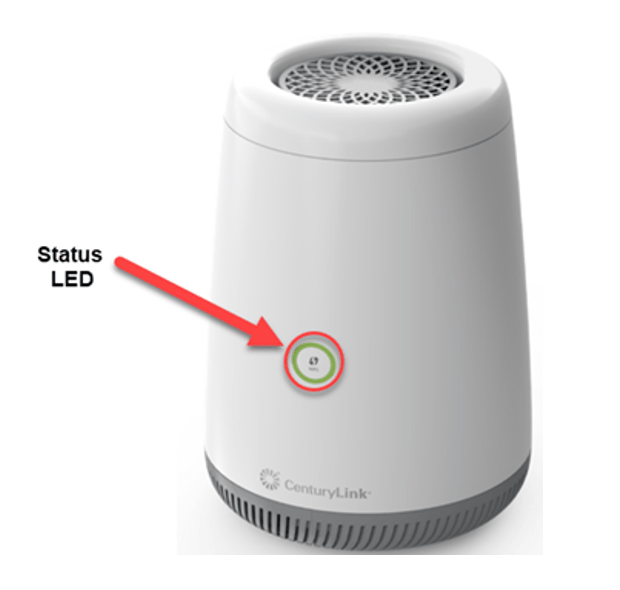
Main status light – All C4000 models
This model has a single status light ring on the front, which will change color as it goes through the initial installation process. Once the power cord is plugged into the back of the modem, the bootup sequence will begin. Below are the status light behaviors you'll see when the modem is booting up.
LIGHT COLOR - Boot-up status
SOLID RED - Boot-up test is in progress (on first use) - Wait 5 minutes while the modem boots up
BLINKING RED - Boot-up test (hardware test) failed - Reboot your modem, then try setup again
BLINKING BLUE - Looking for the CenturyLink network - Be patient while this process completes
SOLID BLUE - Device is ready for use
SOLID AMBER - End user agreement incomplete - Go to http://connect.centurylink.com or the My CenturyLink app and click "I accept"
SOLID GREEN - Device is connected to the network - Now you can get online!
SOLID RED - A service or connection failure occurred - Call or chat to get further troubleshooting help from a service agent
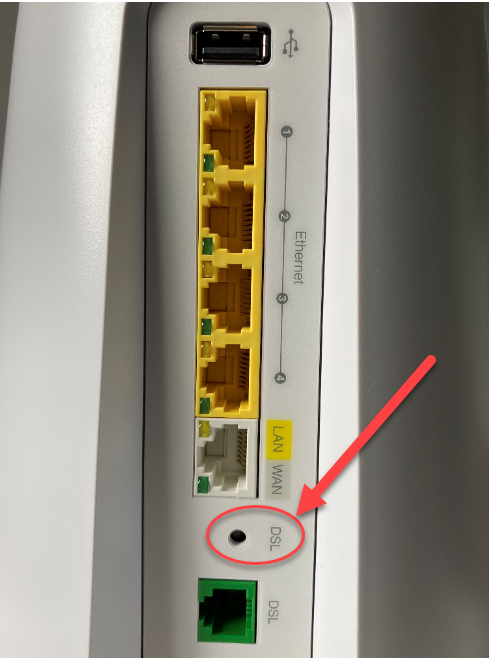
DSL status light – C4000LG model only
In addition to the main LED display, the C4000LG model has a DSL status light, found beneath the ports on the back side, as seen in the photo.
LIGHT COLOR - DSL internet connection status
BLINKING GREEN - Attempting to sync with CenturyLink network - Wait while syncing completes
SOLID GREEN - The modem is connected to the network - Now you can get online!
SOLID RED - No active DSL signal is detected or the modem is not connected to the CenturyLink network - Try rebooting the modem and repeating the setup process; if it is still red, call or chat for further troubleshooting help
OFF - Nothing is connected to the DSL port - Check to make sure all your cords are firmly plugged in to the wall jack and the DSL port on the modem
For full instructions on how to read the single status light on the C4000 modem, visit our detailed guide.
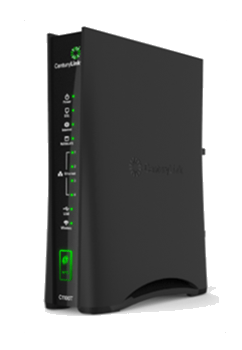
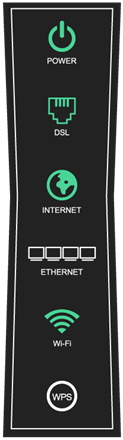
If you have any other model, including Actiontec, Technicolor, Zyxel and others, follow the guide below. Your modem may look different from the one pictured, but the lights will function in the same way.
Look at the row of status lights on the back of your modem. What color is the INTERNET light?
It's GREEN
You're finished!
If your internet light is green, you are connected to the internet. Now you can get online!
It's AMBER
You need to finish your setup

If your internet light is amber/orange, the setup process is not yet complete. Usually this means you still need to accept the user agreement. Use the My CenturyLink app or browse to http://connect.centurylink.com to finish setup as shown in step 3 above.
Have questions about the other lights on your modem? Visit our detailed guide on how to read the lights on your modem to troubleshoot your internet connection.
Starting new service? Please note that a phone jack is required to set up CenturyLink internet service in your home. If you don't have a jack, chat with us to have one installed.
Use the CenturyLink app to manage your account and network.


Top Tools
Was this information helpful?
Support topics
About Lumen | About CenturyLink | Careers | Investor Relations | Newsroom | Legal | Privacy Notice | Tariffs | Customers with Disabilities | Site Map | Cookie Settings | CenturyLink in Your Area | CenturyLink.net | White/Yellow Pages | Centurylink Retailer
Residential | Small Business | Enterprise | ©2026 CenturyLink. All Rights Reserved.